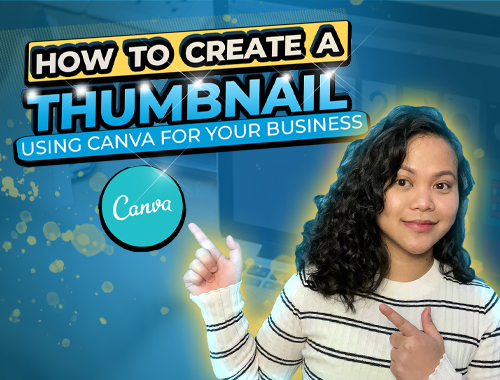
How To Make A Video Thumbnail? It’s Easy!
YouTube, Instagram, IGTV, and Instagram Reels.
In recent years, these channels have been massive sources of traffic for businesses.
And, getting those views can help increase your customer engagement.
Your video’s thumbnails are crucial to the overall success of your content.
And it’s because the first thing your viewers see before they even click on your video.
So in today’s tutorial, we’re going to show you how to make a thumbnail in different sizes for various video platforms.
If you’re ready, let’s get started!
Steps On How To Make A Video Thumbnail
Creating an attractive thumbnail is critical to convincing your audience to click and watch your social media video.
So what makes a good thumbnail?
There are multiple styles you can use for your thumbnails, and what you use will ultimately depend on the nature of your business.
But in general, a thumbnail should consist of 2 main things – a picture or cut out of your primary subject, and a legible headline.
You can either select a screenshot from your video, or take a few pictures of yourself in various poses.
Once you have that, you’re ready to start designing.
Apps like Photoshop are great for creating such images.
But, there are alternatives that can create just as good an output without that monthly subscription fee.
We’re talking specifically about Canva – a free graphic design platform that we will be using for this how to make a thumbnail tutorial.
Open their website and click on the “Create a design” button on the top right of the page.
Let’s start with the YouTube size and create the other size variations once we’ve finished designing that.
So now we have a blank page set up for the YouTube thumbnail size.
If you look to the left of the screen, you’ll see that Canva is showing a wide variety of thumbnail pre-set designs.
And if you want, you can select any of these to be your starting point. Just be sure to select the templates with easy-to-read headlines.
For this guide, let’s start with this template over here.
Now it’s important that we customize every element present in the template to fit our video better.
And, be sure to incorporate your social media branding colors as well.
Let’s go ahead and upload an image that best fits the template we selected. And once that’s uploaded, we’ll place it on the design canvas.
Here’s a pro tip: When you use Canva, you have to make sure that you’re not dragging an image directly into the template.
Doing so will lock it directly to the canvas and you won’t be able to move it around as much.
Instead, go to the Elements tab and select this image container here.
Drag it to the canvas and you can then move the container around without it being locked to the dimensions of the actual canvas.
You can then leave your image as it is (especially if you have a nice background behind you).
Or if you have a pro account, you can take advantage of this super useful tool right here.
Just like that, our image is now magically cropped and we can place something relevant in the background.
For the background, we don’t need to set the image inside a container, because in this case the picture actually needs to be spread throughout the canvas.
The second step on how to make a thumbnail is to replace the text with our headline and brand colors.
This part is a little hard to read, so let’s add a black square background behind it and bold the colors.
Now with Canva, you have a bunch of options with not just the font…
…but if you click here, you’ll see there’s a bunch of text styles that you can apply to the text.
The template already has a shadow set under the headline text, but you can also do any of the functions available here.
For example, if you want, you can add a layer of outline on top of your text.
But for this specific template, we think a cleaner look will fit better.
Now, we’re going to add an extra layer of blue over our background to go with LYFE’s signature blue color.
And then, add a few blur circles for color accents here and there.
At this point, feel free to make any adjustment you want on your design until you’re happy with the output.
YouTube’s thumbnail size is also the size for blog thumbnails, so you can use the same image for that.
Lastly, finalize your design.
Now that you know how to make a thumbnail for your video, let’s go ahead and make the other sizes.
Thumbnail Sizes For Different Platforms
Luckily, Canva supports the copy-paste function on multiple pages.
So, you can simply copy the elements on one tab and directly paste them to the canvas on the other tab.
And then, you can just adjust each element accordingly.
Get Exclusive Marketing Tips!
The main elements actually need to fit inside a square in the center.
And it’s because, aside from the Reels feed, IG will also be displaying your Reels in the regular feed.
This means it will show in the traditional Instagram 1:1 ratio.
So, try to keep all the vital elements visible in the center square of the 1080×1920 image.
We have a walkthrough guide for this in the video at the top of this post, so be sure to check it out.
And now we’re done, you now have a set of thumbnails for your video platforms!
That’s how to make a thumbnail for various video platforms.
If you want to level up your videos, then work with our Atlanta video production agency.
We have a team of in-house video editor experts who can make your videos stand out from the competition.
Contact us now at 404-596-7925.

Leave a Reply